

If you are a part of the realm of online hosting, the odds are that you will be looking that How to Host Multiple Websites On a Single Server at some point in time. Although it may appear complicated initially, once you dig deeper into it, you will discover that almost anyone with knowledge of technology can do it.
But Wait!
Let’s admit it and face it right away! Hosting multiple websites can be pretty much expensive. And once you have found the ideal hosting service, you would like to make the most from the many dollars you spend each month.
This is why hosting multiple websites on a single server with the best affordable web hosting platform as HostCano, can be a wiser step to go.
Having said that, once you are opt-out of the HostCano professional plan. You get the choice for an unlimited website, unlimited SSD space, unlimited bandwidth, unlimited emails, monthly backups, Cloudflare CDN, and above all, you will get the benefit of having 99.99% server uptime as well.
Have a look at the image below!

Further, we will look deeper into hosting multiple websites on a single server.
So, let us just jump into it right away!
Signing up for the HostCano Account
The first step is to log in to the HostCano account. If you do not have an account yet, you can sign up by clicking the sign-up button.
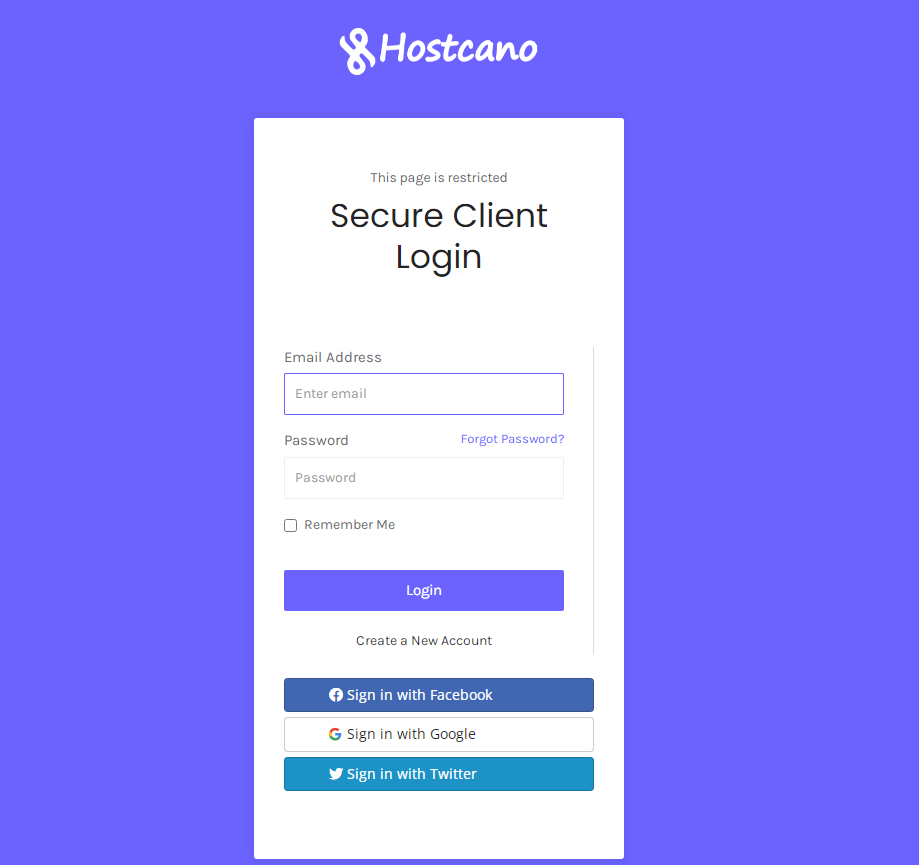
Then, you will be asked to input your email address and the password you would like to create. After you have set up an account, you will have to fill in certain payment information, and you will then be able to utilize the HostCano to build servers. As you already have an account, we must hit the login button. We will input our login credentials.
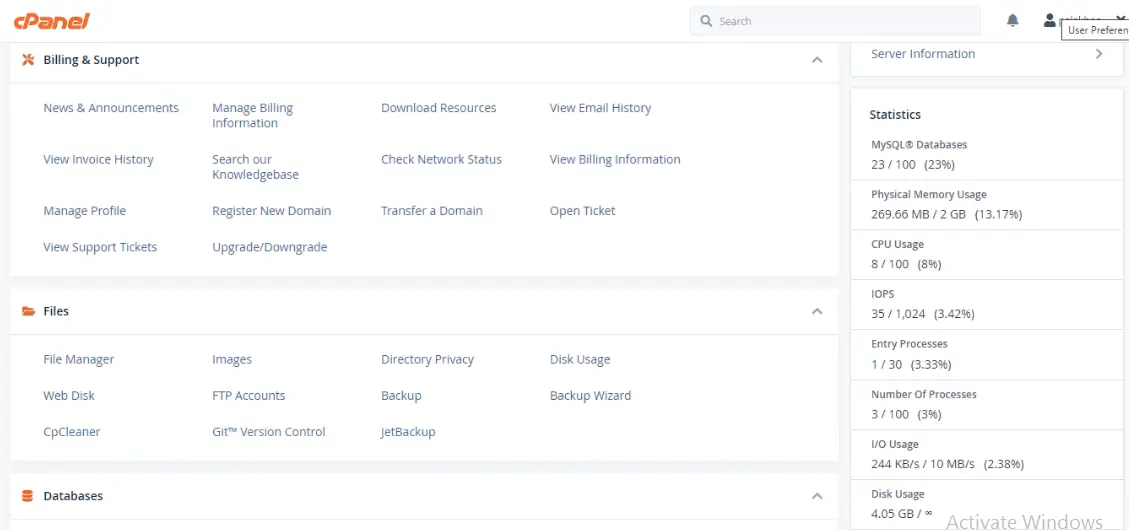
You are now in the HostCano dashboard. You will love the way HostCano hosting client panel has been built in such an excellent way.
Well, you will get stunned by navigating through various features of the HostCano hosting client panel directly from its dashboard. It allows you to navigate to the different services areas, your purchased domains, your account details, and other hosting stuff with HostCano robust, ready-to-use dashboard.
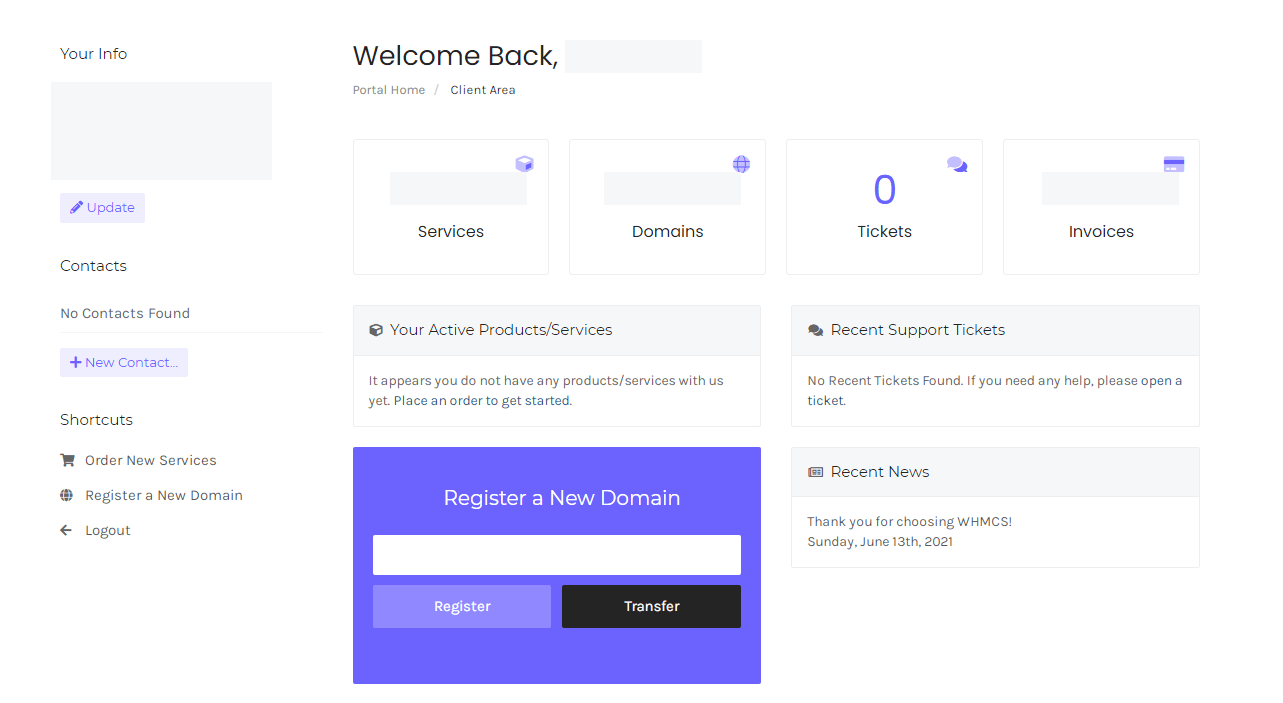
In this section, under the hosting tab, you will look at the various features you own and the different domains linked to the HostCano project.
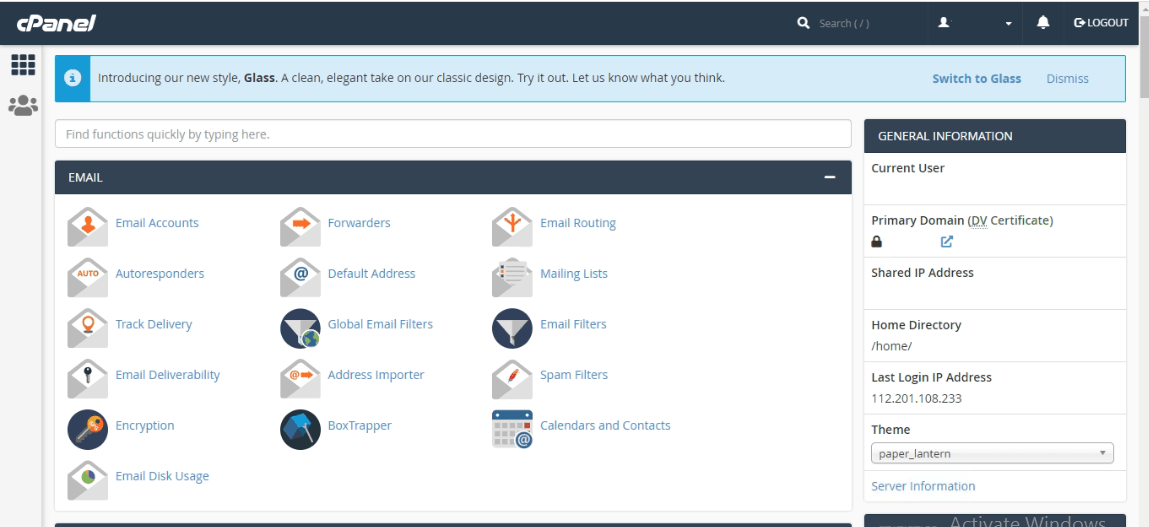
cPanel in HostCano Hosting Client (How To Host Multiple Websites On a Single Server)
You can view the different projects in the HostCano account as a project. It can contain various options from various domains, with different settings for different websites. As we will work on a new project, we are sure that you will click the button for a new project here. Now we are being asked to choose an appropriate name for the project.
You can name your project whatever you want as it will host multiple domains.
Let’s go with the name of a generic website. If your Server was dedicated to a specific website, you could enter an appropriate name to the website.
It is not mandatory to add a description. However, it is mandatory to choose a reason why we will choose development. Then it asks whether we would like to transfer any resources already on one of our servers.
We would not like to do this, so we will proceed and click skip for the moment. You will see that the Server’s main project is now live on the menu.
If you move back to the cPanel, you will start checking the domains list by clicking directly on HostCano cPanel. We will choose the distribution type we would like to set up for the domains and information such as Server and statistics.
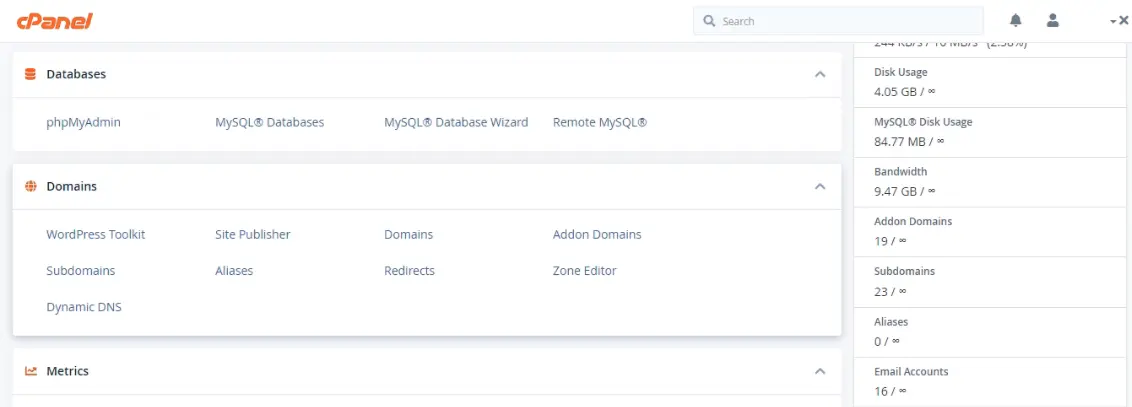
If you don’t see it as the default, you can choose it from the menu. The next thing you need to choose is an appropriate size for the droplet. In this case, we will choose the unlimited amount of gigabyte of memory, a CPU with unlimited gigabytes of SSD storage, and unlimited of transfer per month.
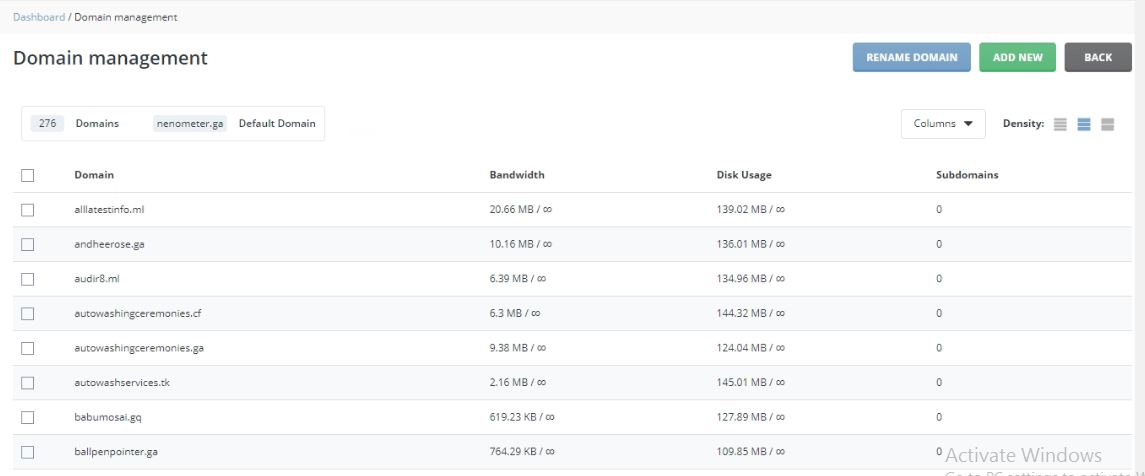
If you are confident that you’re planning to use the Server for anything more significant than simply for educational purposes, you’ll need to choose a more extensive configuration. The configuration will entirely depend on your requirements. In the meantime, you can check the websites list hosted on within a single HostCano server which you can easily see under the domain management section.
We’ll scroll down the page then the next thing to be done is choose the data region. If you’re employing this Web server to deliver Web pages for your customers, it is best to pick a region closest to the customers you serve.
It will ensure that your website loads as quickly as possible for visitors to your website. This is, however, only for demonstration purposes. Therefore, let’s go ahead and choose.
The next thing to be done is select the hostname of the Server. Because the Server will host several sites, you can choose a generic name and the server the same way.
Status appears, which indicates the progress of the installation of the Server. Typically, it takes no longer than one or two minutes. The Server has been set up, and you will see it has an IP that has been assigned to the Server as default. HostCano has also emailed you the password to access the entire hosting panel of your purchased web hosting plan.
You must ensure that you’ve registered your email address and that your email is present because we’ll be using the password soon. This is referred to as your routing administrative password.
Wrapping It Up
I hope this article will help you understand how to host several websites using a single server. You now know HostCano is a hosting service for multiple websites that offer a platform managed for various applications.
If you found this post insightful, then do share it with your colleagues and friends on different social networks so that more people can get an acknowledgment about it.